
A Step by Step Guide to Japanese Street Food You Can Cook
- Rban Tours

- 11 minutes ago
- 8 min read
Follow this guide and you can plan an evening yatai crawl, stock a pantry with essentials like instant dashi and Kewpie mayonnaise, and cook a full spread of iconic stall dishes at home after understanding what urban food tourism is all about through this takeaway guide. Yatai peak hours run from about 7:00 PM onward, so that’s your target start time whether you’re wandering Fukuoka or firing up a takoyaki pan in your own kitchen. For travelers who’d rather skip the guesswork, Rban Tours builds guided routes around exactly this timing.
Three moves to make right now:
Pick your path: an evening crawl or a home cooking session.
Buy four pantry items: instant dashi, panko, tenkasu, and okonomiyaki sauce (or the quick substitute below).
Set your clock: plan to start around 7:00 PM out, or preheat your takoyaki pan in.
Key Takeaways
Mastering Japanese street food comes down to timing your outing around yatai hours, stocking eight pantry essentials, and using double-frying and pan technique correctly for texture.
Point | Details |
Time your crawl | Start around 7:00 PM when yatai stalls hit peak hours, ahead of the evening rush. |
Stock four essentials first | Buy instant dashi, panko, tenkasu, and okonomiyaki sauce before anything else. |
Master double-frying | Fry karaage and kushikatsu at 160 to 170°C, then again at 180 to 190°C for crunch. |
Follow etiquette rules | Return trash to vendors, skip double-dipping, and vent takoyaki before biting. |
Book it guided when short on time | Rban Tours runs curated street food nights with local hosts who know the best stalls. |
Table of Contents
Your Quick Roadmap: Street Crawl or Home Kitchen
On the street: Arrive hungry around 7:00 PM, when yatai stalls hit their stride. Start with takoyaki, move to kushikatsu or okonomiyaki, and close with something sweet like taiyaki.
In the kitchen, work in this order:
Check your pantry and equipment against the list below.
Prep everything (chopping, batter, marinades) in one 45 to 90 minute block.
Fry items that reheat well first, then finish takoyaki last so it hits the table hot.
Heading out? Pack cash or an IC card, wet wipes, and a small bag for trash. Most vendors expect you to carry your own wrapper back to them.
What Belongs in Your Japanese Street Food Pantry
Nine items cover almost every recipe in this guide. Buy these once and you’re set for months.
Instant dashi powder — the umami backbone for batters, glazes, and dipping sauces.
Kewpie mayonnaise — richer and tangier than Western mayo, essential for okonomiyaki and takoyaki drizzle.
Okonomiyaki sauce — Otafuku is the bottled standard most home cooks reach for.
Aonori (dried green seaweed flakes) — the finishing dust on okonomiyaki and takoyaki.
Katsuobushi (bonito flakes) — for dashi and for that dancing garnish on hot dishes.
Tenkasu (crispy tempura scraps) — folded into batter for texture you can’t fake any other way.
Panko breadcrumbs — the coarse crumb that makes korokke and kushikatsu shatter instead of just crunch.
Soy sauce and mirin — your glaze and marinade base for yakitori and dango.
Pro Tip: No Otafuku on the shelf? Whisk ketchup, Worcestershire sauce, soy sauce, and a pinch of sugar. It won’t be identical, but it gets remarkably close in five minutes.
If you’re shopping in Italy, Asian grocers in major cities stock most of this list, and dashi powder, Kewpie mayo, and panko all ship reliably online. Binchotan charcoal is trickier to source consistently, so keep reading for the stovetop workaround.
Twelve Street Foods Worth Learning to Cook or Order
Here’s your shortlist, with the one step that actually matters for each.
Takoyaki — octopus batter balls cooked in a hemispherical pan. The technique demands continuous turning to build a crisp shell around a molten center.
Okonomiyaki — a savory pancake cooked on a flat teppan griddle; Osaka mixes everything into the batter, while Hiroshima layers it instead, so these are genuinely different dishes, not regional twins.
Yakitori — skewered grilled chicken. Order with confidence by sticking to safe cuts like momo (thigh) and negima (thigh with scallion), and be ready to answer “tare or shio” when the vendor asks sauce or salt.
Karaage — Japanese fried chicken, double-fried for a crackly, low-oil crust.
Taiyaki — fish-shaped cakes filled with sweet red bean, custard, or chocolate, cooked in a cast-iron mold that gives the shell its signature crunch.
Yakisoba — stir-fried noodles cooked on the same large teppan you’ll find at nearly every matsuri row.
Kushikatsu — skewered, breaded, deep-fried meat and vegetables. Double-frying applies here too.
Korokke — panko-crusted potato croquettes, best fried in small batches so the oil temperature doesn’t crash.
Oden — a simmered hot pot of fish cakes, daikon, and eggs in dashi broth, sold from steaming vats at winter stalls.
Dango (mitarashi) — chewy rice dumplings on a skewer, glazed with a sweet soy sauce made from soy, sugar, mirin, and starch.
Onigiri — hand-shaped rice balls. Wet and salt your hands before shaping so the rice doesn’t stick.
Kakimochi (senbei) — rice crackers that start as dried mochi, needing a week of drying (or a baked shortcut) before they puff in hot oil.
No takoyaki pan? A well-greased muffin tin gets you most of the way there. No teppan? A large cast-iron skillet or stovetop griddle handles okonomiyaki and yakisoba just fine.
The Techniques That Actually Make Street Food Taste Right
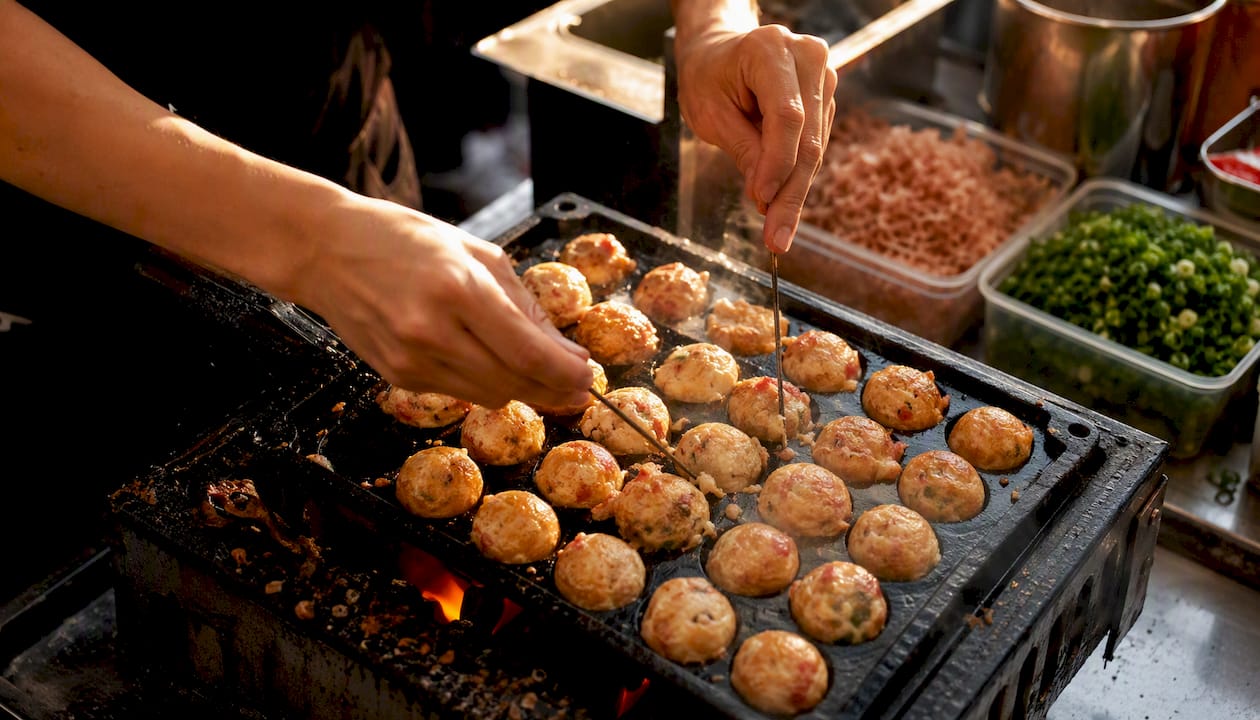
Takoyaki lives or dies on the turning. Rotate each ball with a skewer or chopstick as the edges firm up, letting batter run into the gaps until you’ve built a round, crisp shell. That continuous motion, not the recipe, is what separates good takoyaki from a soupy mess.
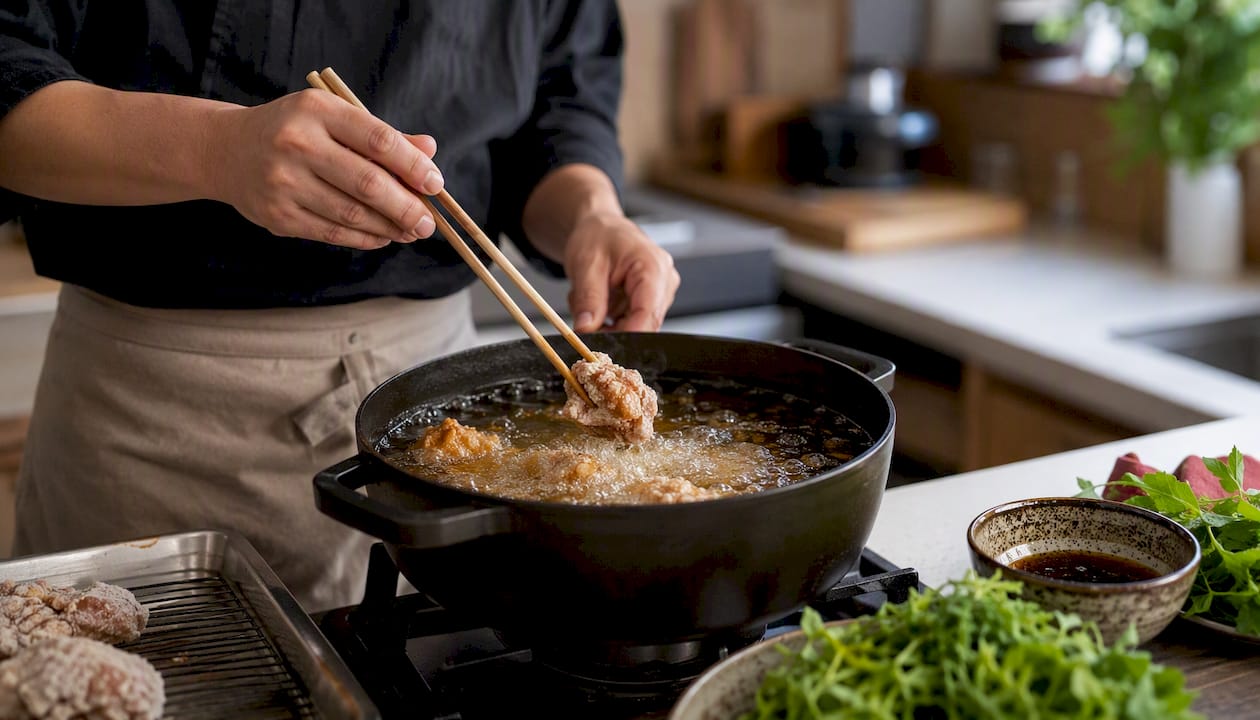
Double-frying is the trick behind karaage and kushikatsu’s crackly crust. Fry once at roughly 160 to 170°C to cook the interior, rest it briefly, then hit it again at 180 to 190°C to shatter the crust and push out excess oil.
Binchotan charcoal burns hotter and cleaner than a home stove, giving yakitori its distinct char. You’ll lose some of that smokiness on a stovetop, but a quick broil finish or a smoked soy glaze recovers much of the flavor.
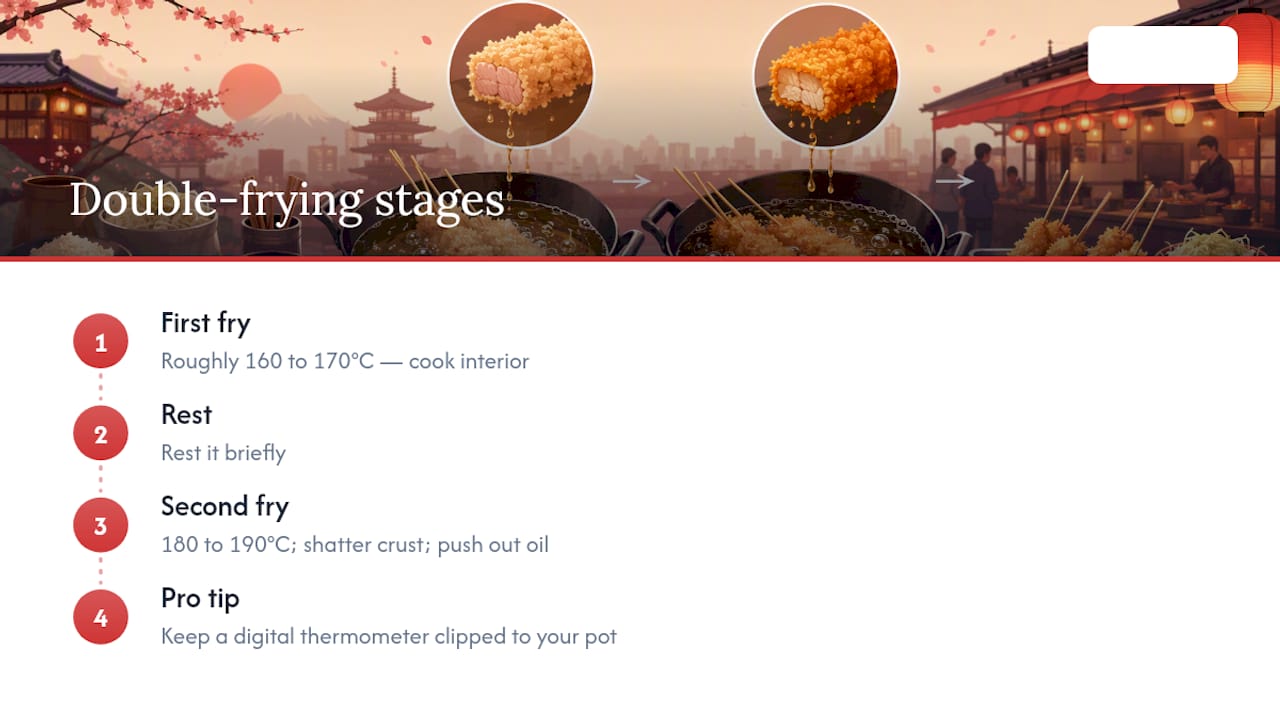
Pro Tip: Keep a digital thermometer clipped to your pot. Guessing oil temperature by sight is how kushikatsu ends up greasy instead of crisp.
Planning an Evening Crawl the Way Locals Do
A structured route beats aimless wandering. In Osaka, that means Dotonbori for takoyaki, Shinsekai for kushikatsu, a teppan stop for okonomiyaki, and taiyaki to close the night. Yatai typically open around 6:00 PM, so arriving by 7:00 PM puts you ahead of the crowd.
Budget by the dish: most items run between ¥300 and ¥800. A typical evening sampling several dishes and drinks can be managed within a moderate budget range.
The rules that keep you from standing out as a tourist:
Return your trash to the vendor who sold you the item.
Never double-dip a shared sauce.
Ask “tare or shio” without hesitation at yakitori stalls.
Let takoyaki vent for a minute before biting. It’s molten inside.
Sourcing Equipment and Ingredients Outside Japan
The tools worth owning: a takoyaki pan (electric versions are the easiest for beginners), a taiyaki iron, a cast-iron griddle for okonomiyaki and yakisoba, a reliable thermometer, and a deep pot or fryer.
Asian grocers in major Italian cities generally carry dashi powder, Kewpie mayo, and panko, and all three ship reliably through online retailers. Binchotan is harder to find consistently, so a stovetop grill pan or oven broiler is your practical substitute, paired with a smoked soy glaze to fake the char. If Otafuku sauce isn’t on hand, the ketchup, Worcestershire, and soy combination mentioned earlier holds up in a pinch.
Pro Tip: Buy panko and tenkasu in bulk. Both keep for months in a sealed bag and turn up in more recipes than you’d expect.
Hosting a Matsuri Night: Menu and Timeline
Build the menu around dishes that reheat well, then finish with something cooked to order for the wow factor.
The day before: Marinate chicken for karaage and prep onigiri filling. A typical batch of uncooked rice yields several onigiri, generally sufficient for a small group.
60 minutes before guests arrive: Fry korokke and karaage in batches, holding them warm in a low oven.
30 minutes before: Cook yakisoba on the griddle; it holds heat and texture better than most people expect.
As guests eat: Fire up the takoyaki pan and taiyaki iron last, so both arrive at the table hot and fresh.
Serve with beer, sake, green tea, or ramune for something non-alcoholic and nostalgic. Set everything out buffet-style and let guests graze in small portions, refilling as they go, which mirrors how these dishes are actually eaten at a real matsuri.
Fixing Common Street Food Mishaps
Bit into a takoyaki too soon? The molten center is real, and burns from it are the most common street food injury travelers report. Poke a small vent and wait two to three minutes before your first bite.
Watch your oil bands closely: 160 to 170°C for the first fry, 180 to 190°C for the second. If the temperature drops, your food absorbs oil and turns greasy; if it spikes, the outside burns before the inside cooks.
Soggy korokke or kushikatsu can usually be rescued with a quick second fry at the higher end of that range. Dango or mochi gone too soft firms right back up under a light broil for a minute or two.
Why a Guided Crawl Sometimes Beats Going Alone
A local host cuts straight to the stalls worth your time and steers you past the ordering mistakes that trip up most first-timers, like fumbling a yakitori order or missing the trash-return rule entirely. That’s the real value of a guide: speed and confidence, not just company.
DIY works well if you’ve got time to explore and don’t mind a few missteps. A guided experience makes more sense when your trip is short or you want the efficient version of the crawl described above, without the trial and error.
Book a Guided Street Food Night With Rban Tours
Rban Tours turns everything in this guide into a single evening you don’t have to plan yourself. Our walking and cultural tours are built by local hosts who already know which stalls hit peak flavor at 7:00 PM and which ones to skip, so you spend your night eating instead of second-guessing menus in a language you don’t read.
[

Private groups and custom routes are available if you’re traveling with friends or planning something for a birthday or bachelor party abroad. Check available dates on our Japan experiences page and book your street food night before your trip fills up.
Frequently Asked Questions
What’s the easiest Japanese street food to make at home first? Onigiri and yakisoba are the most forgiving. Neither requires special equipment, and both tolerate imperfect technique while still tasting right.
Do I really need a takoyaki pan, or can I improvise? A greased muffin tin can substitute in a pinch, though it won’t give you the same continuous-turn crisp shell a real pan produces.
What’s the biggest mistake first-time street food travelers make? Biting into takoyaki too fast. Vent it and wait two to three minutes, since the center stays molten well after the outside cools.
Is Kewpie mayonnaise really different from regular mayo? Yes. It’s made with rice vinegar and egg yolks only, giving it a tangier, richer flavor that standard mayo doesn’t replicate.
How much should I budget for one evening of street food? Individual items typically run ¥300 to ¥800, so a full evening of grazing with drinks lands around ¥2,500 to ¥4,000.
Sources
Recommended
Comments